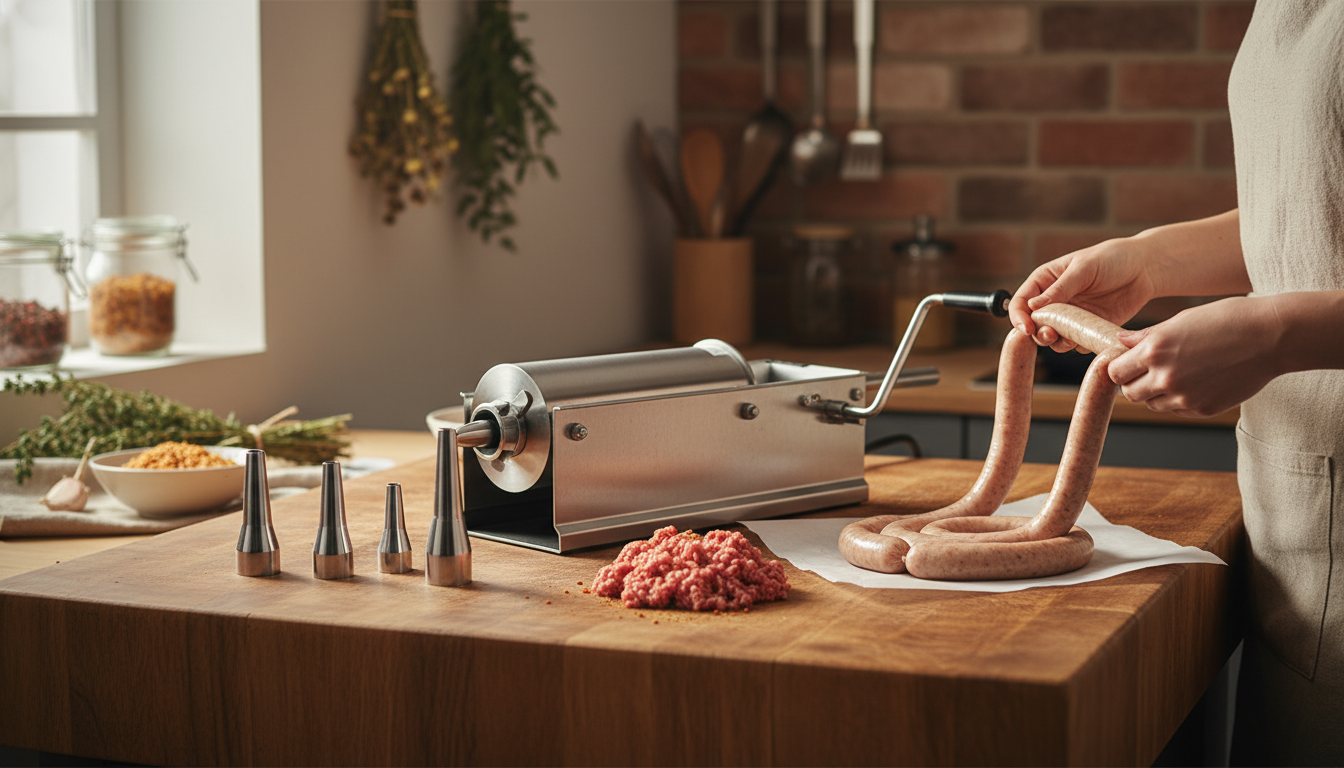
A horizontal sausage stuffer helps portion and pack seasoned meat smoothly into casings with better control than improvised methods. With multiple nozzle sizes, it’s easier to switch between breakfast links, bratwurst-style sausages, and snack sticks while keeping the mixture tight and even. The result is a cleaner workflow, steadier filling pressure, and more consistent links from the first casing to the last.
Stuffing by hand with a funnel or trying to push meat through a grinder attachment can work, but it often introduces uneven pressure, air pockets, and messy transfers. A horizontal stuffer is purpose-built to move a cold meat mixture forward at a controlled rate.
A good stuffer setup is simple: a cylinder, a piston to push the mix, and nozzles that fit the casings you use most. This kit is designed to cover common diameters without forcing a one-size-fits-all approach.
Nozzle choice is one of the fastest ways to improve results. Pick the nozzle based on casing type and desired diameter rather than forcing a tight fit. When the match is right, the sausage flows with less back-pressure—helping prevent fat smear and reducing the risk of tearing.
| Nozzle size | Best for | Casing examples | Practical tip |
|---|---|---|---|
| Small | Thin sausages and snack sticks | Sheep casing, collagen snack-stick casing | Chill the mix well; narrow nozzles show warmth/fat smear quickly |
| Medium-small | Breakfast links | Smaller hog casings | Use light pressure and keep a steady crank speed to avoid overfilling |
| Medium | All-purpose fresh sausage | Standard hog casings | Wet the nozzle and casing lightly to help the casing slide without tearing |
| Medium-large | Larger links and coarser grinds | Wide hog casings, some collagen casings | If pressure builds, stop and “burp” the casing to release trapped air |
| Large | Big-diameter sausage | Beef rounds, large collagen | Stitch or tie the end securely—larger casings can surge when starting |
Consistent links start long before the first crank. Temperature, loading technique, and casing control all matter, especially when working with fresh sausage where fat needs to stay firm.
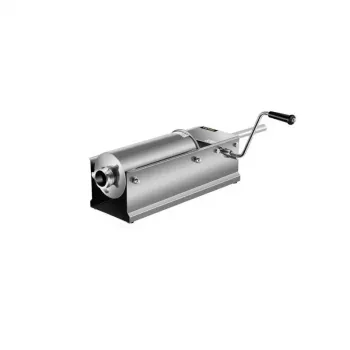
If the goal is repeatable links with less casing drama, a dedicated stuffer is a practical upgrade. The Horizontal Sausage Stuffer with 5 Nozzles includes multiple nozzle options to match common casing sizes, and its horizontal configuration supports steadier operation during stuffing. It’s a solid fit for fresh sausages, seasoned links, and experimenting with different diameters.
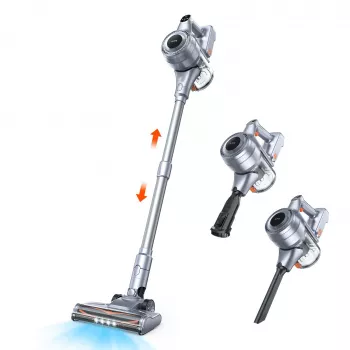
Helpful add-ons for smoother sessions include natural or collagen casings, butcher twine, sheet pans for staging, and disposable gloves. For tidying up the workspace between steps, the Powerful Cordless Handheld Vacuum Cleaner with LED Light & 40-Min Runtime can make quick work of spilled spices and prep debris.
Different casings need different diameters, and the right nozzle match reduces back-pressure so the meat flows smoothly. That helps prevent tearing, lowers the chance of air pockets, and makes it easier to keep fill density consistent when switching from snack sticks to larger links.
Fat smear usually happens when the mixture or the stuffer parts warm up, causing the fat to soften and drag along the nozzle. Keep the meat and cylinder cold, work in smaller batches, and maintain a steady rhythm so the sausage doesn’t sit at room temperature while you stuff.
Start by mixing until the meat is tacky and loading the cylinder carefully to avoid trapping voids. During stuffing, keep a consistent crank speed; if small bubbles appear, prick them with a clean pin and smooth the casing gently to push the air out.




Leave a comment