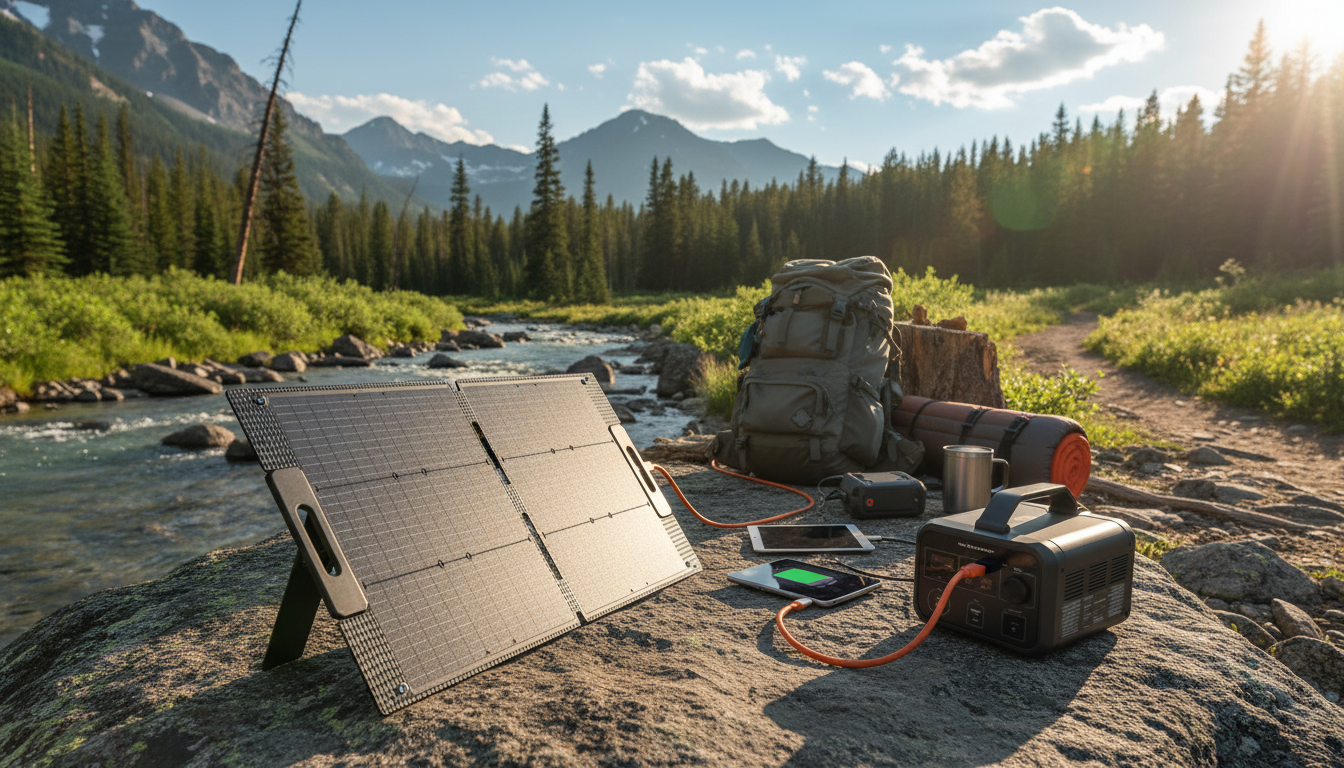
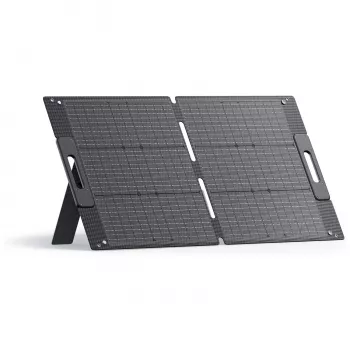
A 100W foldable solar panel turns direct sun into practical off-grid electricity for a portable power station—handy for camping, overlanding, emergency backup, and mobile work. While “100W” is a lab rating, the real value is predictable daytime charging you can pack, deploy fast, and aim wherever the sun is best. Below is what a 100W foldable panel is genuinely good at, what output to expect, and what to check so your power station charges safely and consistently.
A 100W foldable panel shines when your goal is daily maintenance charging and “good enough” energy harvesting without permanent mounting. It’s also easier to reposition than roof-mounted panels—often the difference between mediocre output and a meaningful charge.
Rated wattage is measured under standardized lab conditions. Outdoors, output changes with sun angle, temperature, haze, and—most importantly—shade. Even partial shade across a portion of the panel can drop power dramatically, so placement matters as much as panel size.
| Sun conditions | Typical panel output | Energy harvested in 5 hours | What that can cover (examples) |
|---|---|---|---|
| Clear midday sun, good angle | 70–100W | 350–500Wh | Phone charging, camera batteries, a laptop session, LED lighting for the evening |
| Bright but imperfect angle / mild haze | 50–70W | 250–350Wh | Multiple devices, small fan, topping up a mid-size power station |
| Cloudy / variable light | 10–40W | 50–200Wh | Slow trickle charging; best for maintaining charge rather than fast refills |
If you want a deeper background on how solar PV works and why conditions matter, the U.S. Department of Energy’s overview is a solid reference: Solar Photovoltaic Technology Basics. For practical care that keeps output from degrading over time, NREL’s maintenance guidance is also helpful: Best Practices for PV System Operations and Maintenance.
“It plugs in” isn’t the same as “it charges well.” A few quick checks prevent frustrating low wattage, input errors, or a power station that refuses solar altogether.
A practical workflow: look up your power station’s solar input specs first (voltage window, max watts, connector), then choose the panel and any required adapter cable that stays within those limits.
One of the biggest “hidden” upgrades is simply moving the panel. If your campsite has patchy shade, it can be better to run a longer cable to a sunny opening than to keep the panel close to the power station in compromised light.
Charge time depends on the battery capacity (Wh), sunlight, and the power station’s solar input limit. A quick estimate is time ≈ battery Wh ÷ average solar watts, then add extra time for losses and slower “tapering” near full (often 10–30% longer).
Yes, but output can drop sharply and becomes more like trickle charging than fast refills. Careful positioning still matters—avoiding shade and aiming at the brightest part of the sky helps maximize whatever light is available.
Usually, the panel charges a power station, and the power station runs your devices. Direct use is only reliable if you have the right regulated outputs and stable sunlight, but battery buffering through a power station is typically more consistent and safer for electronics.




Leave a comment